
“The best time to plant a tree was 20 years ago. The second best time is now.” – Chinese Proverb
I live in Northern Virginia and it is the end of winter. Right now it is rainy and cold outside but I am deep into planning my spring and summer garden. After eating terrible flavorless tomatoes for the last few months I am chomping at the bit for my delicious home grown tomatoes. If you’ve never had the chance to eat homegrown tomatoes then you are really missing out. It’s unbelievable how different it can be from store-bought ones.
For many years when I first started my garden I spent a lot of money on buying established plants at the nursery or local big box garden stores. It was only a few years ago that I started planting vegetables from seed. I started buying seeds because buying starter plants from the store is expensive and it’s only gotten worse in recent years. In addition, when you start buying seeds you open the doors to hundreds of varieties that you will never ever see at the store. It does take some upfront cost and more planning but it is worth it.
There’s something truly magical about watching seeds sprout and grow into thriving plants. Once you decide to start from seed you open the doors to infinite possibilities in the garden. Starting seeds indoors is a rewarding way to kickstart your gardening journey, and in this guide, we’ll walk you through the process step by step.
Here is my very simple guide to seed starting.
Know your Frost Dates
When I first started gardening I thought everything grew in the summer. I did not realize there were so many vegetables that can be started in early spring when temps are still low. In fact, there are many vegetables like kale and cabbage that can grow all thru winter with some additional care. In addition, there are some vegetables like radishes and beets that don’t grow well in the hot summer months at all.
Knowing your frost dates will really help you decide when to start your seeds.A frost date is the average date of the last light freeze in spring or the first light freeze in fall. A simple internet search will help you find your frost dates. I use the Farmers Almanac website to look up my first and last frost dates for my zip code.
Once you find out your locations frost dates, you can look at the information on your seed packets to determine when to start the seeds for that particular plant. I find that doing the math can be cumbersome so bonus points, the Farmers Almanac website, will also give you a planting calendar with the calculations already made. It will list each vegetable and tell you when to start the seeds indoors, when to direct sow, transplant, and even when to start seeds outdoors.
Seed Starting Supplies
Seed starting supplies can vary from very simple items you can reuse and find around the house to more expensive all in one kits. Here are some of the items I have used throughout my growing journey.
Here is the link to the Cell Seed Starting Trays
Link to heavy duty trays.
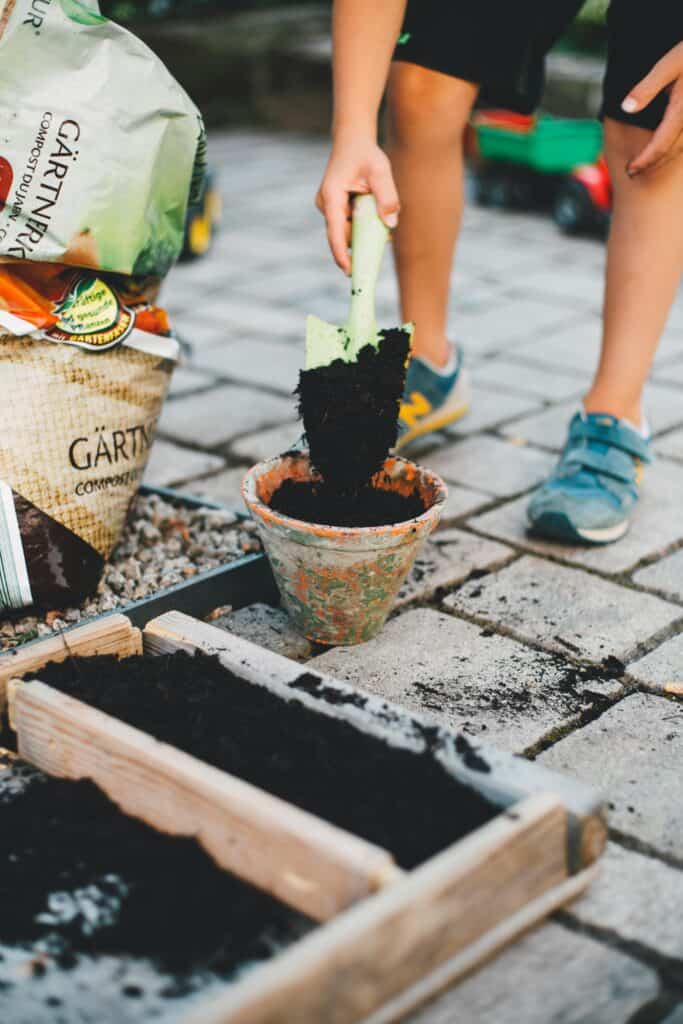
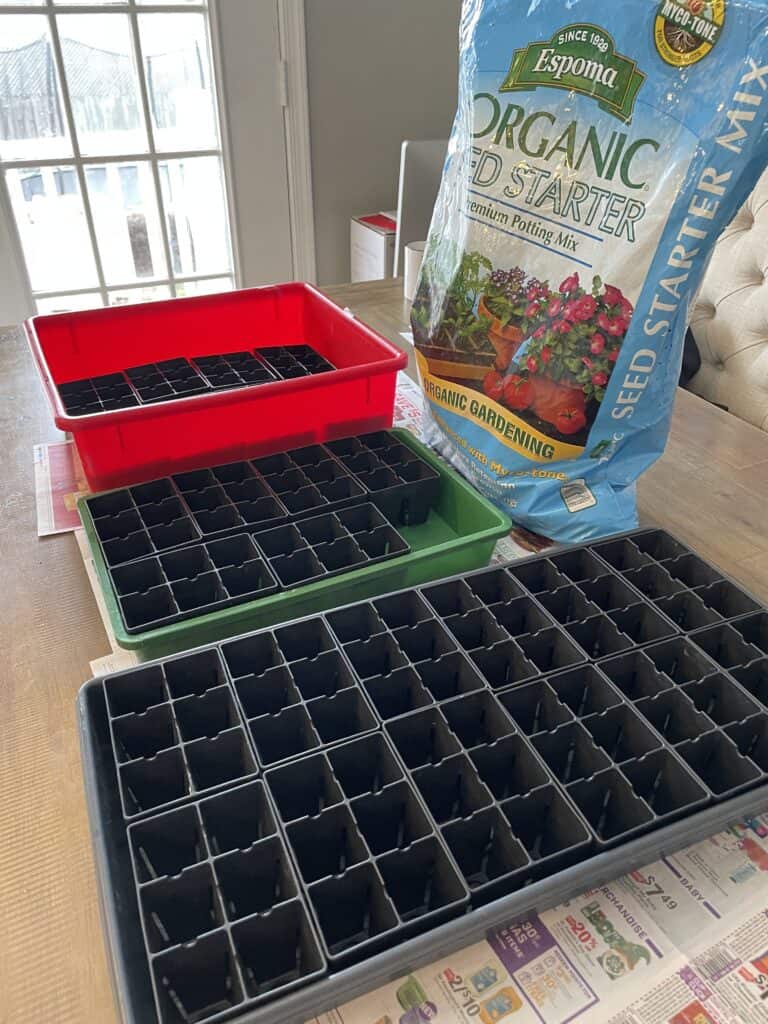
Dirt
It is important to use the right kind of soil for seed starting. For best results you need to use either a seed starting mix or potting mix. These contain mainly peat moss and perlite. Better quality ones can include mycorrhizae and other fertilizers to help with root growth. You can also mix your own seed starting mix with 2/3 peat moss to 1/3 perlite. The reason seed starting mix or potting mix works is because is light and fluffy so the seeds can easily pop thru and it retains water very well.
These are my current fav for seed starting now.


Seeds
Now that you have the dirt and something to put the dirt in all you need are the seeds.
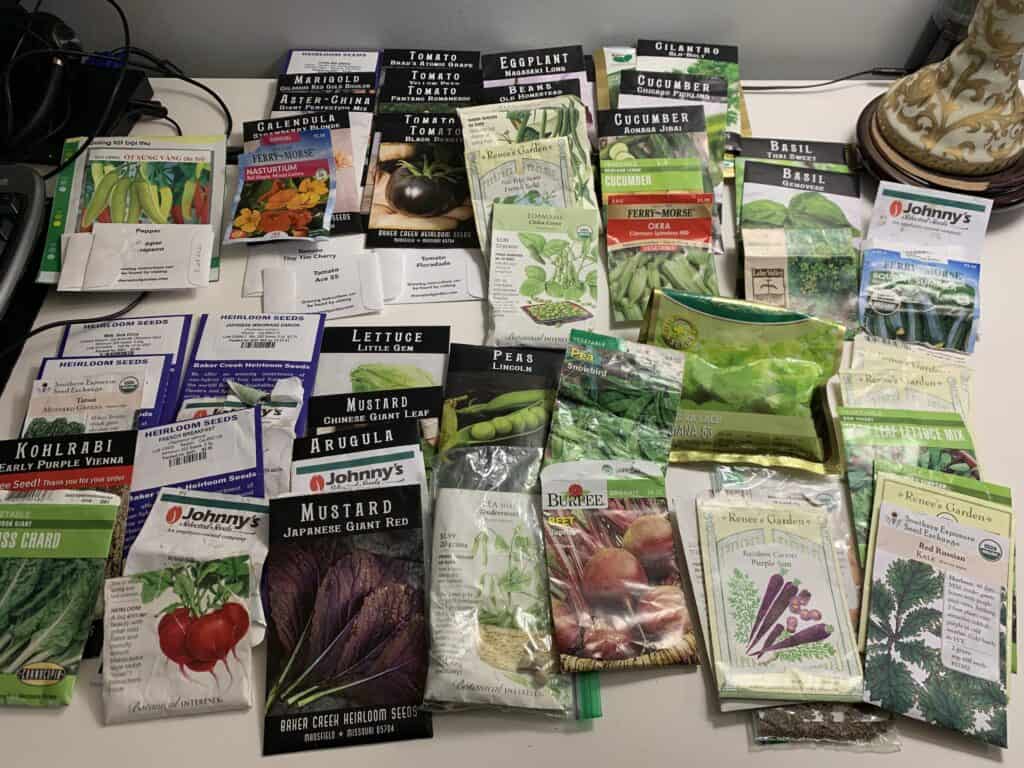
The first step in starting seeds is selecting the right ones for your garden. Consider factors such as your climate, available space, and personal preferences. Are you interested in growing vegetables, herbs, flowers, or perhaps a mix of everything? Make sure to choose seeds that are suitable for your region and the upcoming growing season.There are some great companies with great varieties and I am still trying new ones every year.
The companies listed below are some that I’ve tried and have been happy with the germination rates, pricing, and variety.
Southern Exposure Seed Exchange
True Leaf Market & Kitazawa Seed Company
Provide Optimal Conditions
The items below are not required to start seeds but they do help provide optimal conditions.
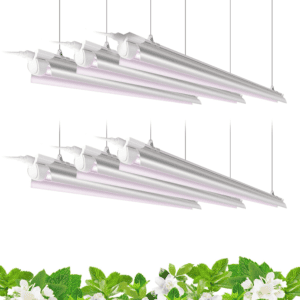
Lights
You can get away with placing the plants near a sunny window or even outside if weather permits. However, for a sure bet and a head start invest in some lights. LED grow lights are popular choices for indoor gardening due to their energy efficiency and customizable spectra. Full-spectrum LED lights provide a balanced spectrum similar to natural sunlight, promoting healthy growth and development. Place the grow lights a few inches above the seedlings and move the lights up as they grow.
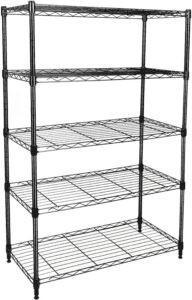
Here are the lights I use and the storage rack I put them on.
Warmth
Most summer vegetables like cucumbers, tomatoes, and peppers will need temperatures between 65-75°F (18-24°C) to germinate. If you are growing in your house chances are the temps will be somewhere between those thresholds. However, if you’re growing in the garage or greenhouse investing in a heating mat will ensure those plants get the warmth that they need.
Fans
When growing indoors it is useful to have a fan running to provide some air circulation for the plants. This will help prevent damping off. Damping off is caused by a fungus or mold that thrive in wet conditions and affects mainly young seedlings. Seedlings will look great and then suddenly die. Sometimes it’s easy to identify because there will be white fuzz on the surface of the soil. For more information here is a great article about damping off and how to identify it. I find that using fans and not overwatering helps prevent damping off tremendously.
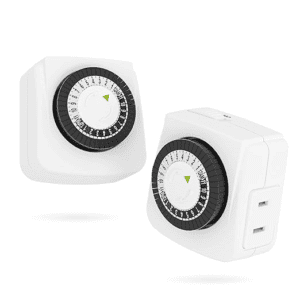
Timers
This is optional but it’s nice not to have to remember to manual turn on and off your lights each day. This is a simple timer that I use. Very easy to set and forget and not expensive at all.
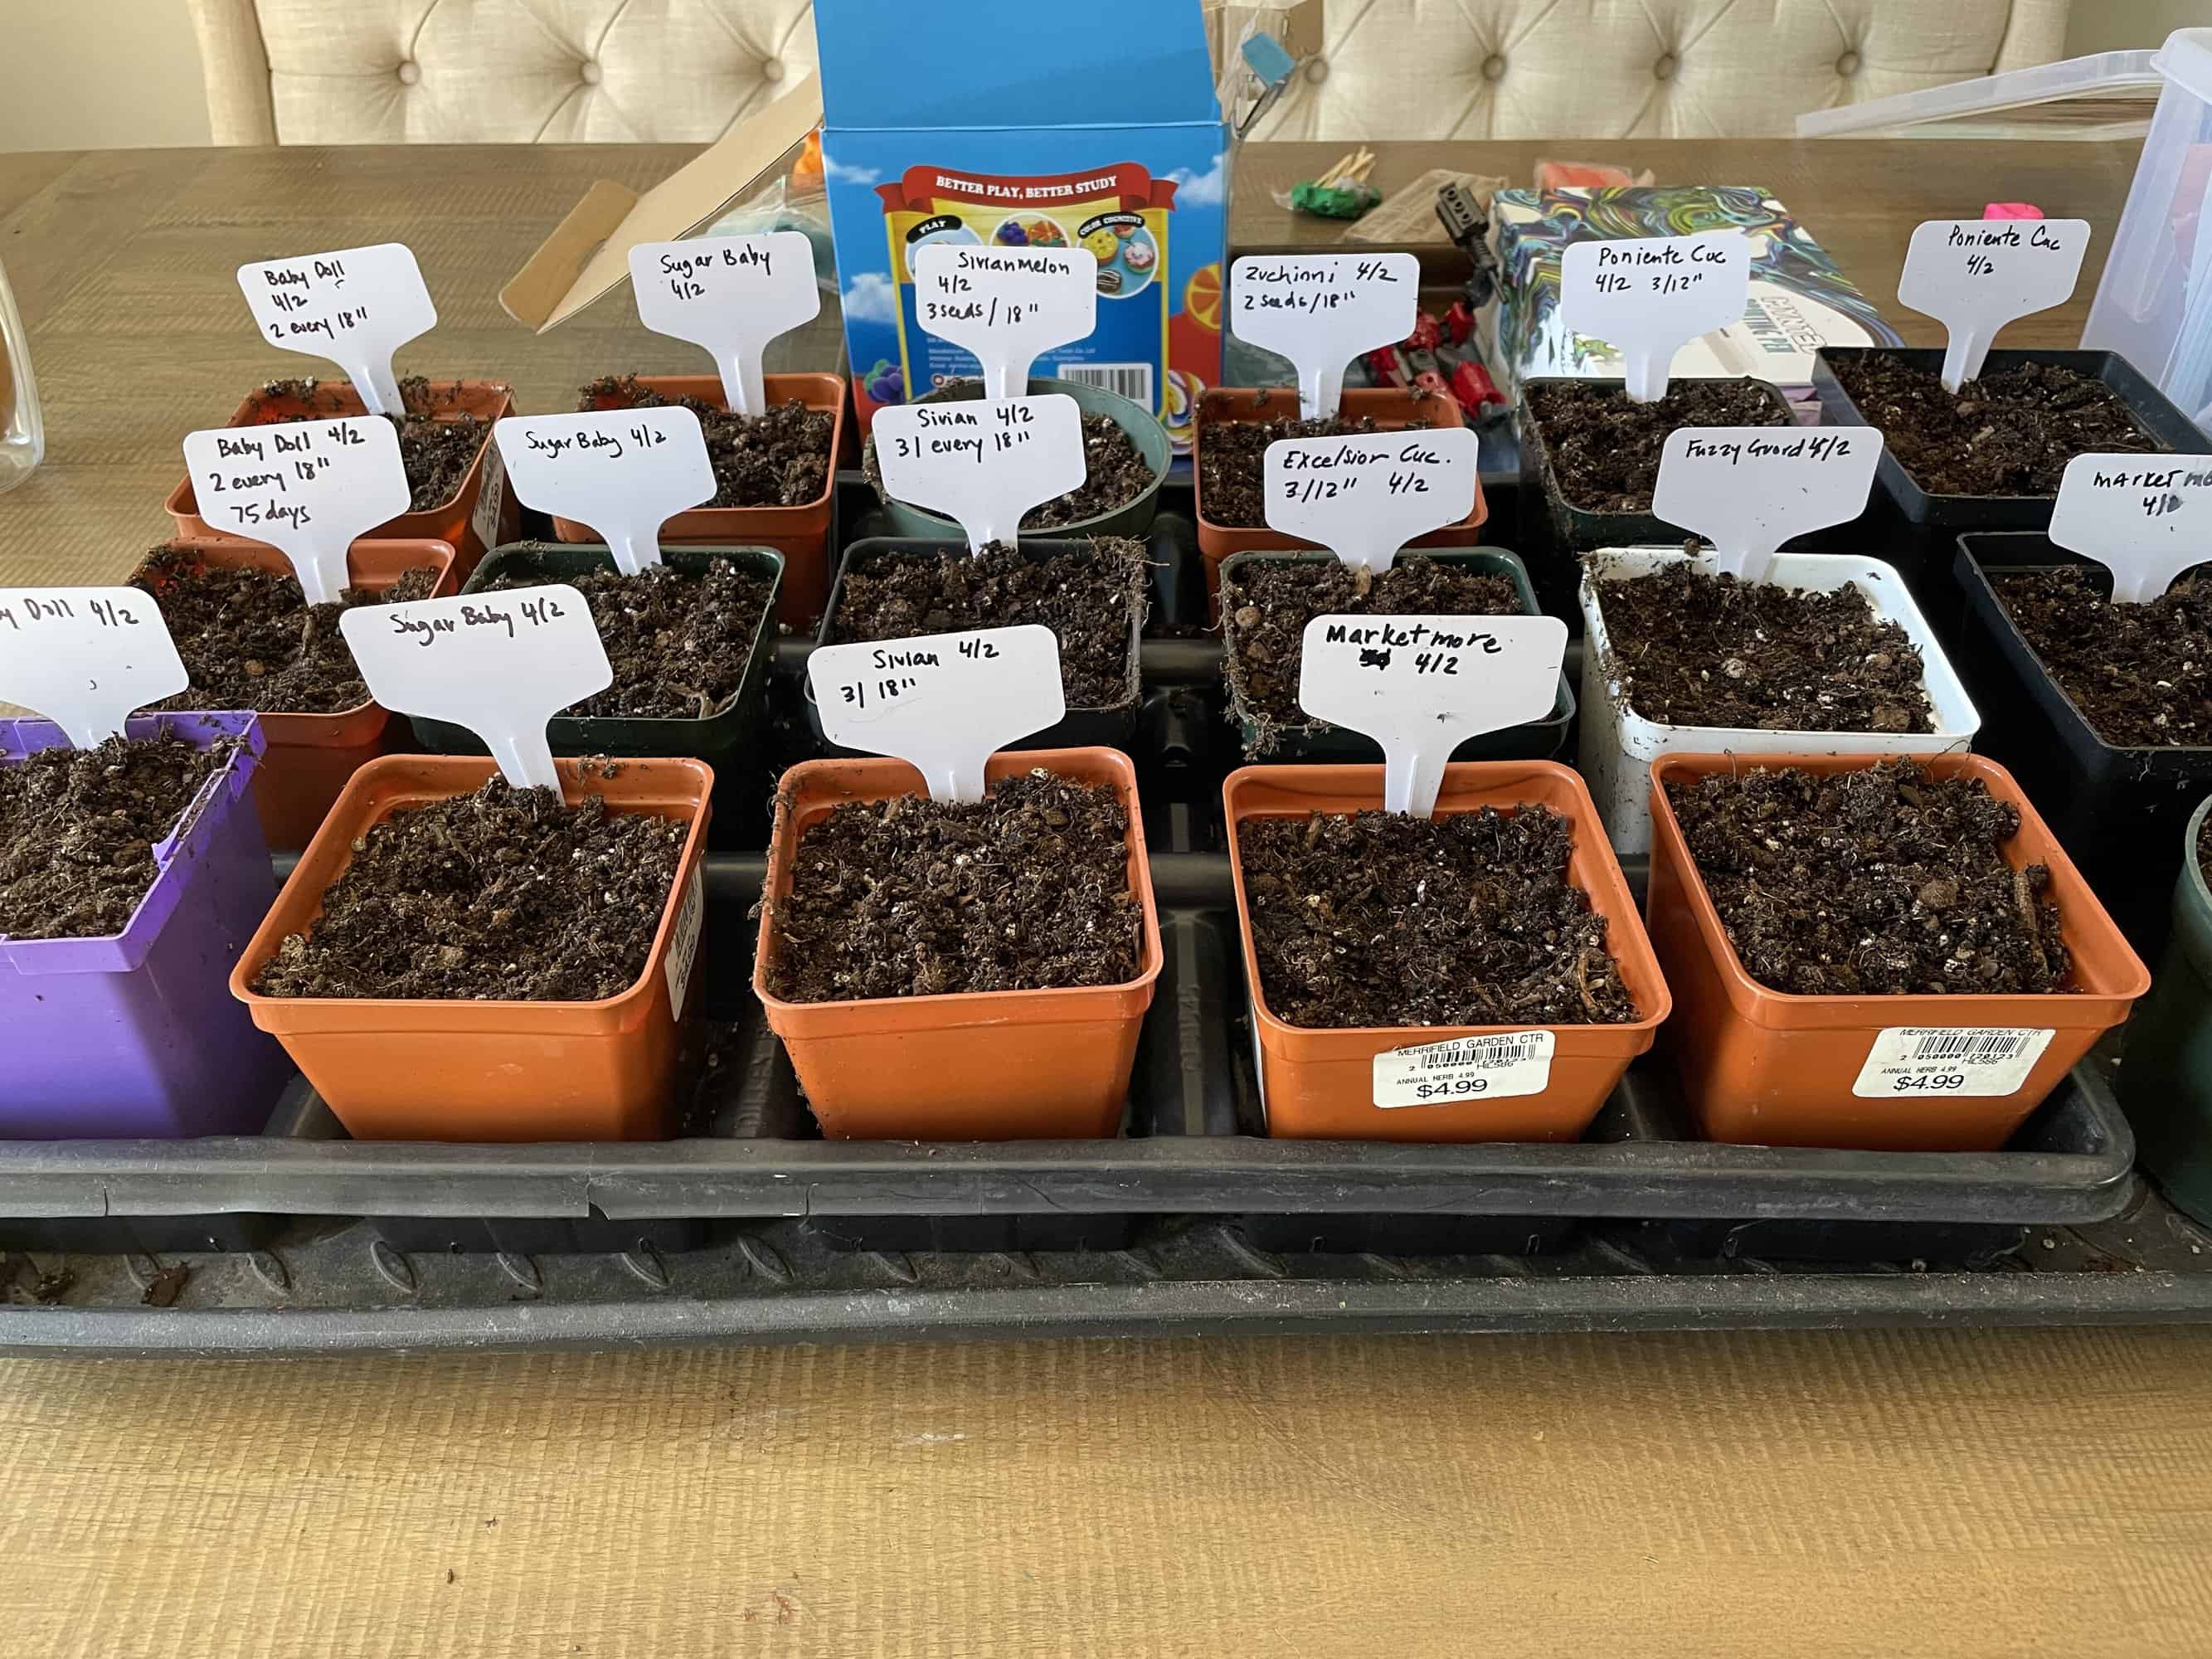
Putting it all together.
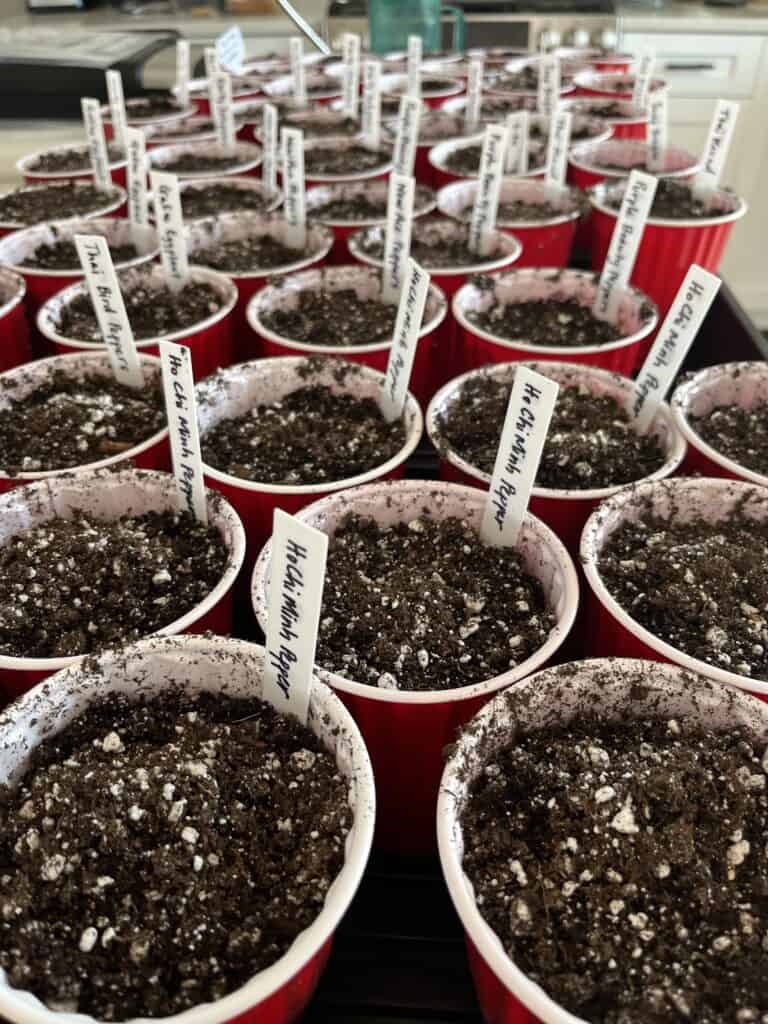
- Prepare Your Containers: You’ve decided on your containers and what to fill them with. It’s time to start your seeds. Fill your containers with a high-quality seed-starting mix. Moisten the mix slightly before filling your containers to ensure proper hydration for your seeds. Fill each container to about ¾ full, leaving some space at the top for watering. Don’t plant your seeds too deep. There should be instructions on your seed packaged but generally 1/4 inch of soil is enough to cover the plants. I usually plant 3 in each cell to ensure a good germination rate. Eventually once the seeds emerge I will thin them out to one strong plant.
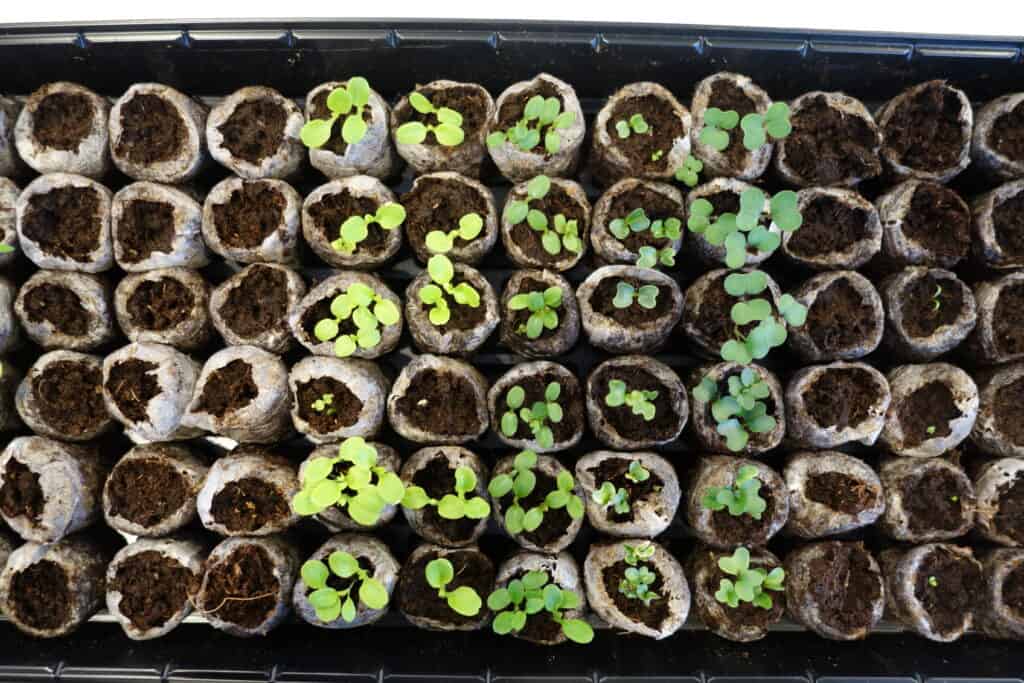
- Care for Your Seedlings: Once your seeds have germinated and seedlings have emerged, continue to provide them with proper care. Keep the soil evenly moist, but be careful not to overwater, as this can lead to damping off (a fungal disease).
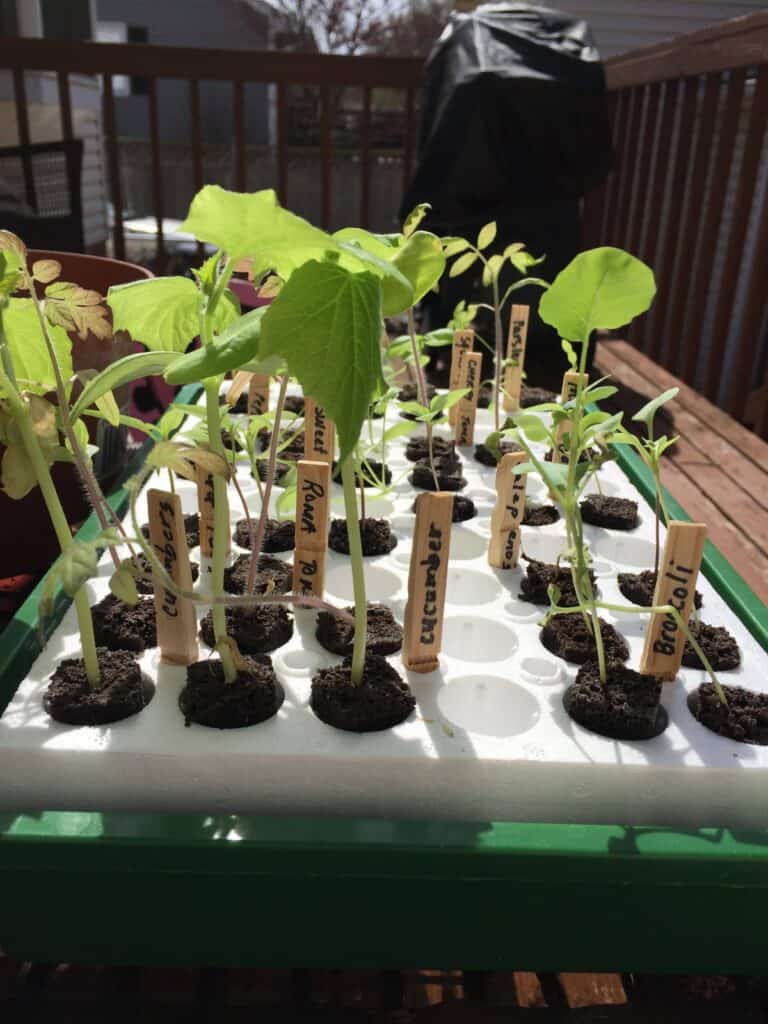
- Transplanting: When your seedlings have developed several sets of true leaves and it has met the weather conditions outdoors, they’re ready to be transplanted into the garden. It is very important to Harden off your seedlings by gradually exposing them to outdoor conditions over the course of a week. I usually start with one hours out doors on the first day and increase by one or two hours each day until it reaches a full day. Choose a suitable location in your garden, prepare the soil, and transplant your seedlings carefully, taking care not to disturb their delicate roots.
Conclusion
Starting seeds indoors is a fun and rewarding way to jumpstart your gardening season. By following these simple steps and providing your seeds with the care they need, you’ll soon be enjoying the fruits (and vegetables, and flowers) of your labor. Happy gardening!