Bánh Bao
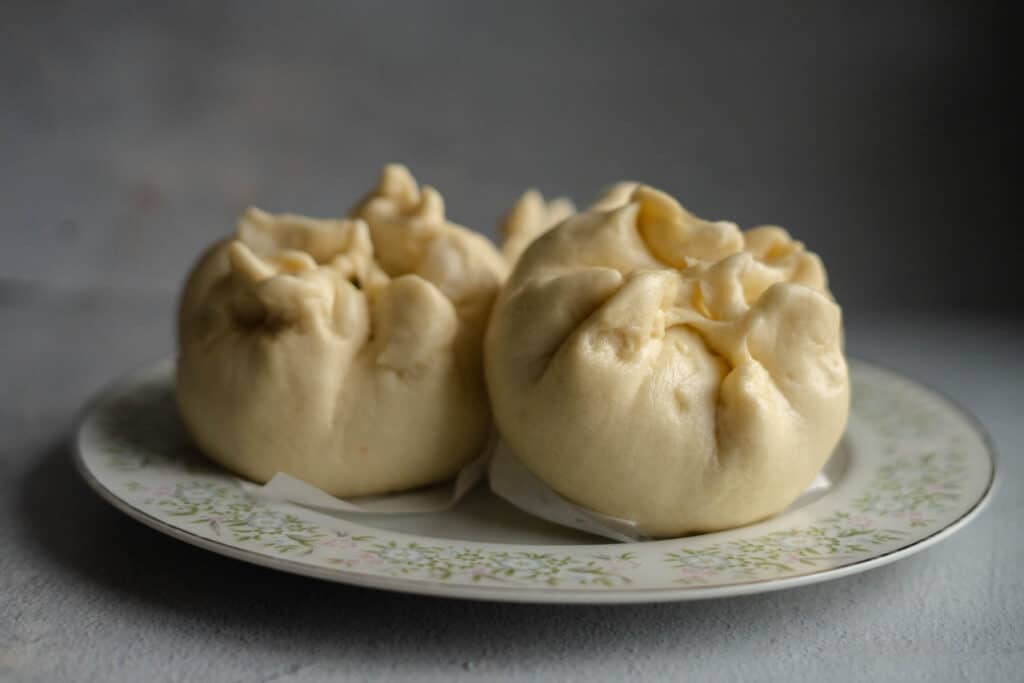
Bánh Bao may be the perfect food. It has all the food groups put together in the most compact and efficient package and could be eaten with just one hand. Other countries have their own version of steamed buns but I think Vietnamese buns are the best.
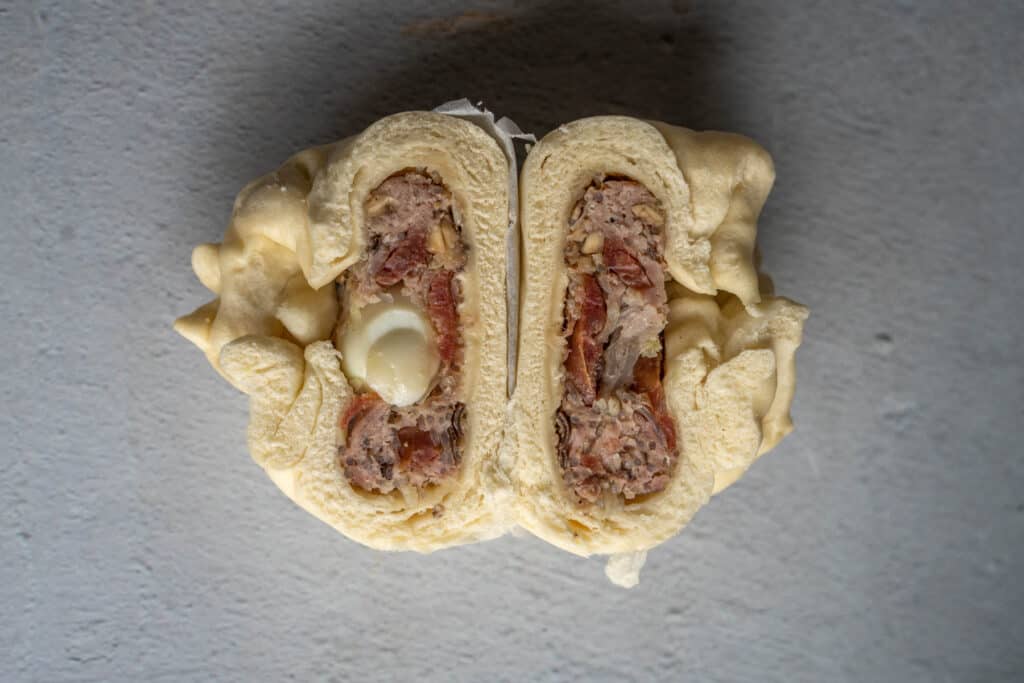
I remember going into Vietnamese Bakeries as a kid and seeing giant Bao buns in the window. The Bakery Bao buns were usually very white and looked like giant white clouds. When you split open the buns it was so exciting to see the egg surrounded by the meat like you discovered some secret treasure.
Each bun includes a generous amount of meat, eggs, sausage, noodles, and vegetables all wrapped in a fluffy, delicate, slightly sweet steamed bun. No skimpy, flat buns here. These bakery style Vietnamese steamed buns are thick, meaty, and delicious.
First, a message about Yeast.
This recipe requires yeast to get that nice fluffy bread texture that we love about the Bao buns. Yeast is a living organism and can be difficult to work with. I find that it is finicky and you have to be patient. It will rise when it wants to. It will fail if it doesn’t like the conditions. It takes practice to really understand how to work well with yeast. Having said all of that, this is a good recipe to get introduced to working with yeast recipes. It is a lot more forgiving then bread. I’ve worked with Bao dough that never seemed to double and the buns weren’t as fluffy as I would like but it still tasted good.
Step 1: Make Yeast Mixture
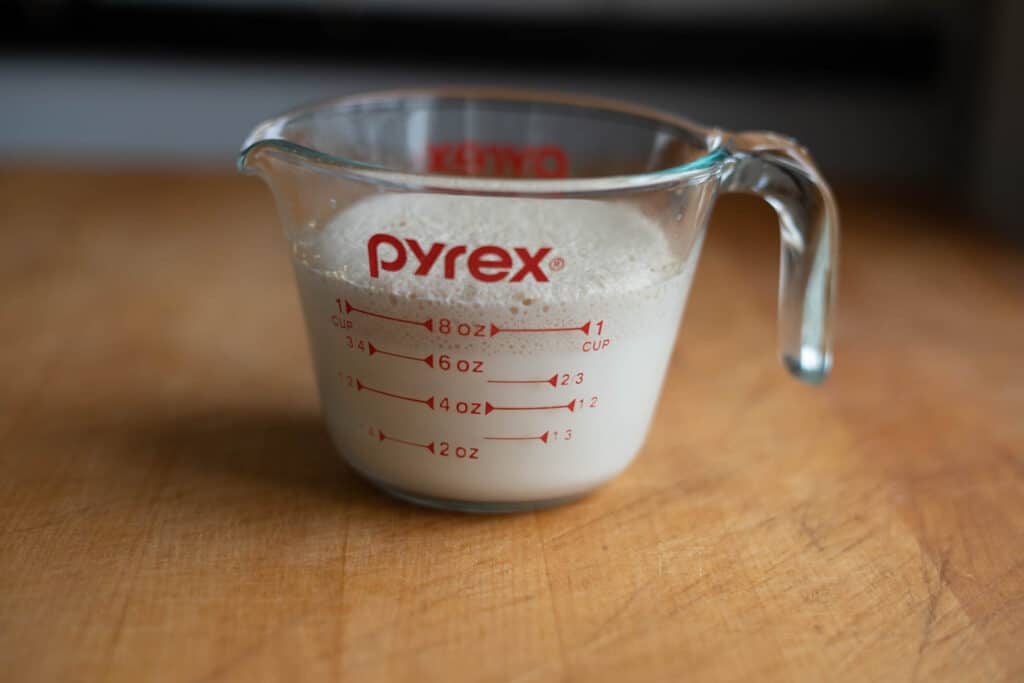
Combine 1 package (2 tsp) of Instant Dry Yeast with warm milk and 1 Tbsp of sugar. The milk should be about 105 to 110 degrees F. Too hot and the yeast will die.
After about 5 minutes the yeast should have developed a nice foam. This means that the yeast has “bloomed”and activated. I always do this step when I am baking with yeast to make sure it is still alive and kicking.
If the yeast does not bloom then something is wrong and you will need to start over. Check the expiration date of the yeast or the temp of the water.
Step 2: Make Dough
I use a stand mixer like this one to make the dough but it could also be done entirely by hand.
Mix 500 grams of All Purpose flour, 2 tsp baking powder, 100 grams sugar, and 1 tsp salt in the bowl of a stand mixer.
Tip: When baking I always use a scale to measure. If you plan on baking a lot I recommend getting an inexpensive one like this. It makes measuring a lot easier.
Once the yeast mixture has bloomed, add it to the flour mixture along with 1 tbsp of vegetable oil.
Mix in the stand mixer with the dough hook on low until everything is combined. Turn the speed up to medium and mix for another 8 minutes until the dough becomes smoother and does not stick to the side of the bowl.
Troubleshooting dough
If the dough is too dry and crumbly then add 1 tbsp of water at a time.
If the dough is too wet and sticky then add 1 tbsp of flour at a time until it no longer looks sticky.
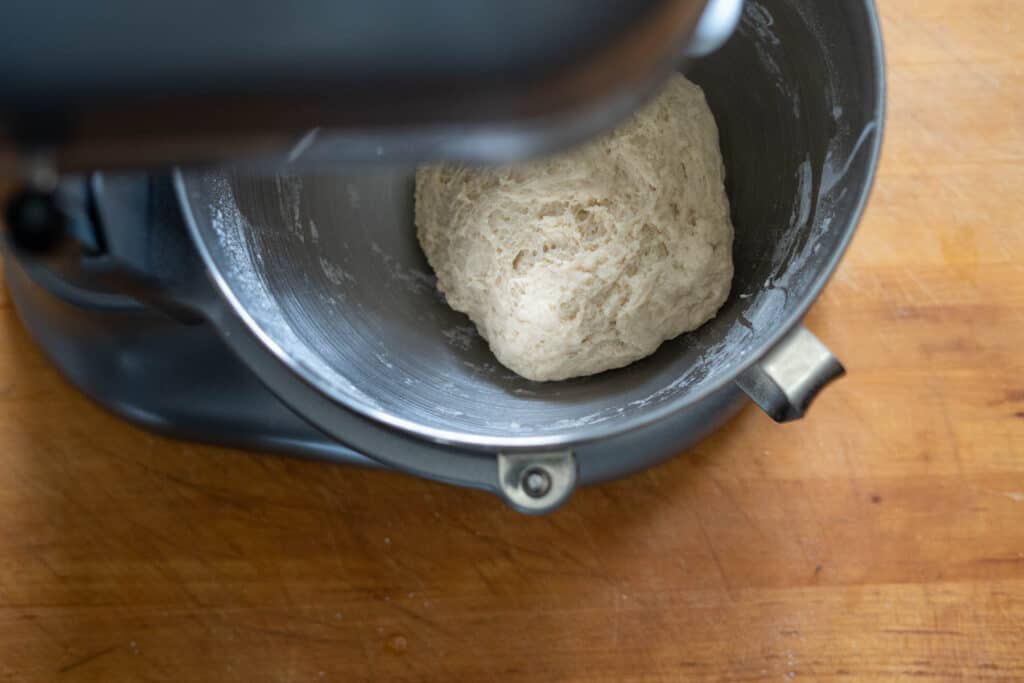
Remove the dough from the bowl and place into a clean bowl that has been lightly oiled. Flip the dough around until it is covered all over in oil. Wrap the bowl with plastic wrap or cover in damp towel. Place in the warmest part of your house until it has doubled or “proofed”. This is usually inside the oven with the light on for me. This should take about 1 to 1 1/2 hours.
Tip: If the dough does not rise, make the buns anyway. Its happened to me before and the baking powder will still make the dough fluffy once its steamed. It just won’t be as soft and fluffy as a properly risen dough. It also makes the dough a little more stiff so it will be a little harder to form into buns but it will still work.
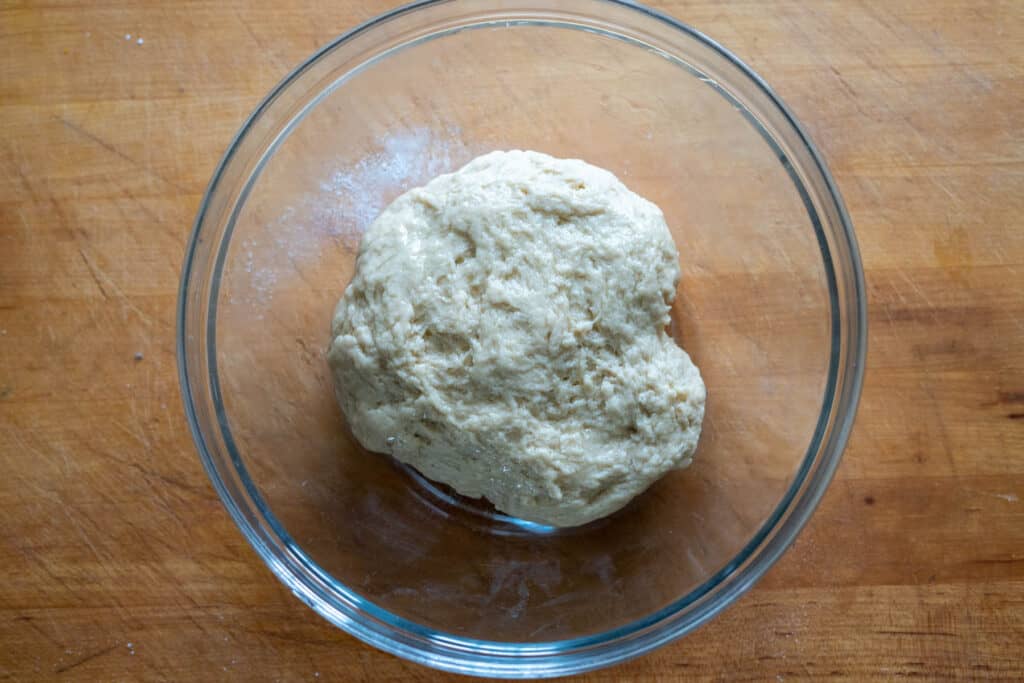
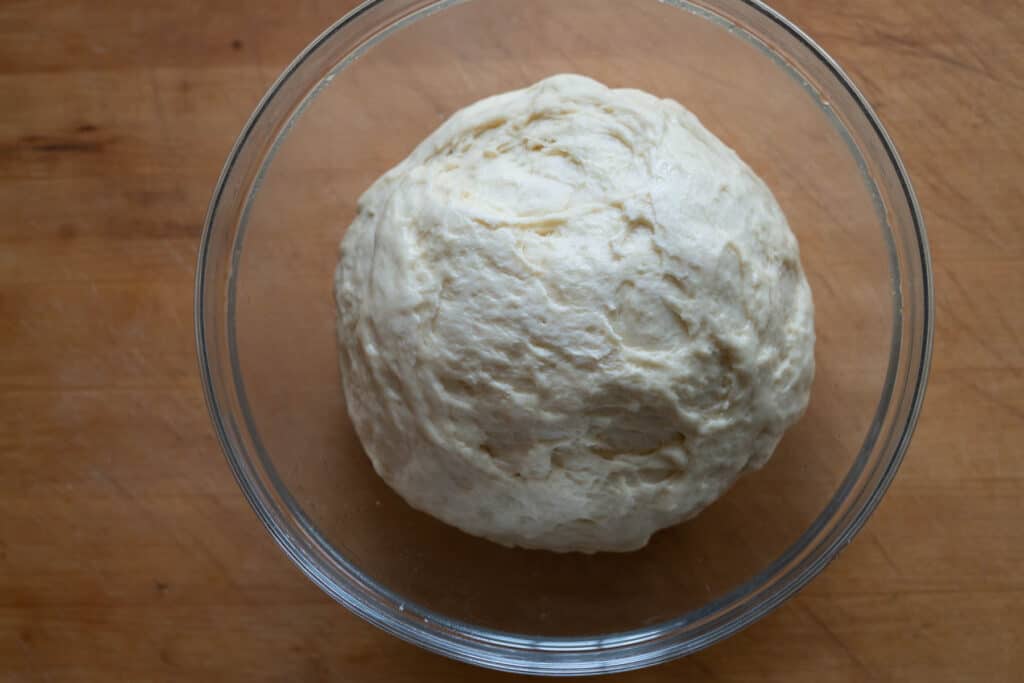
Step 3: Make the Filling
Mix 1 lb of ground pork, 1/3 cup of diced onions, 1/4 cup of rehydrated mushrooms minced, 1/4 cup of rehydrated bean vermicelli noodles cut into thin strips, 1 tbsp oyster sauce, 1 tsp sesame oil, 1 egg white together, salt and pepper. Set aside.
Tip: I like a mixture of dried Shitake mushrooms for the flavor and dried Woodear mushrooms for the texture. You can use just one or the other. You can also add any vegetables your have on hand like diced carrots or peas to make it more healthy.
Boil the eggs and slice them into quarters or halves for more eggs.
Slice the Chinese Sausage and set aside.
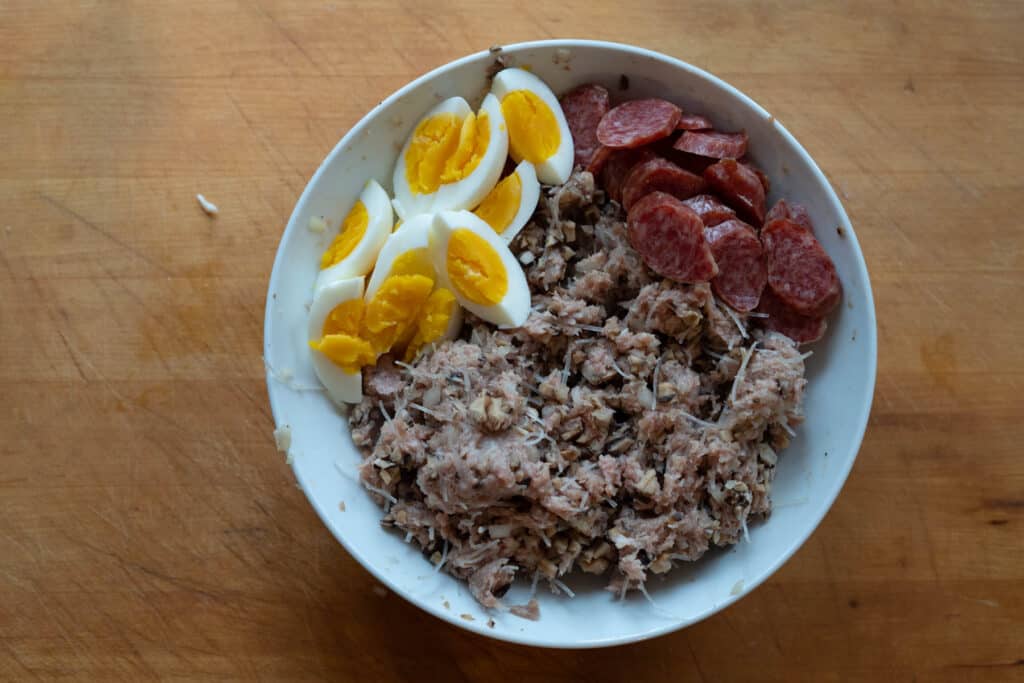
Tip: Pre roll the filling into balls to make the shaping process easier. I use a large cookie scooper like this one to scoop out the filling and press the egg and sausage into it to make a baseball sized filling.
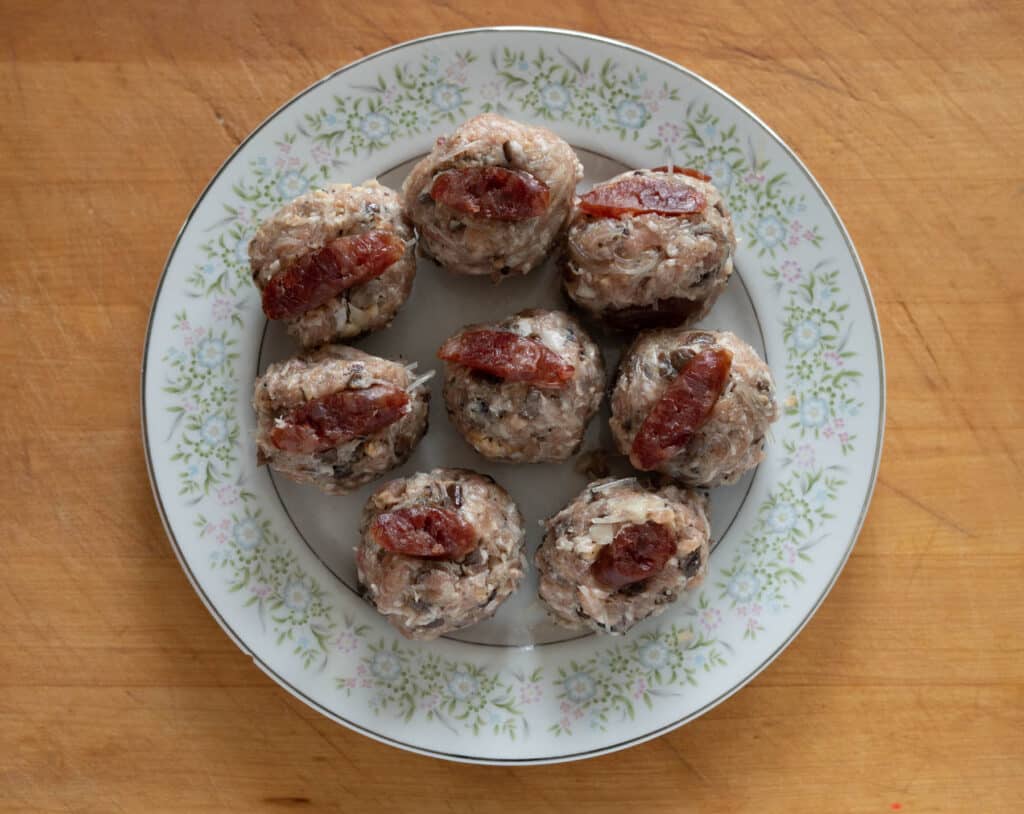
Step 4: Shape the buns
Once the dough has doubled you can begin shaping the dough.
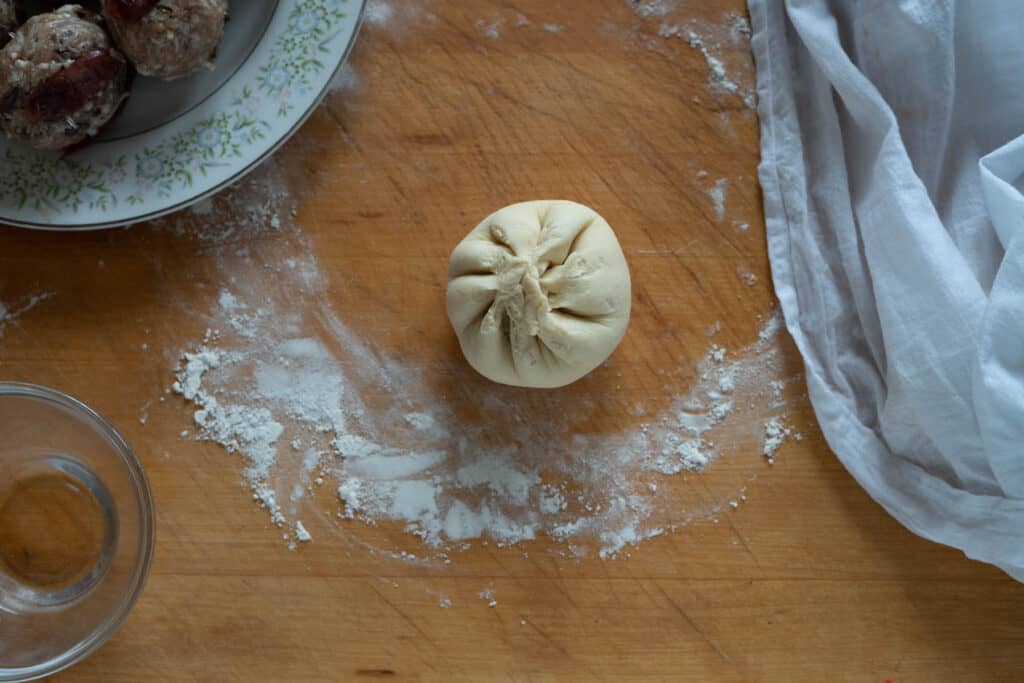
Place the dough on a lightly floured surface. Divide the dough into 8 equal portions. This will make a very large bun. You can make them smaller if you prefer. I like to shaped the dough into a log and then slice them into equal portions. Roll each portion into a little ball and set aside under a damp towel for 10 minutes to let the dough rest and make it easier to work with.
There are many ways to shape the dough. I am very basic when it comes to the shaping. Just as long as the tops are sealed I am good with that.
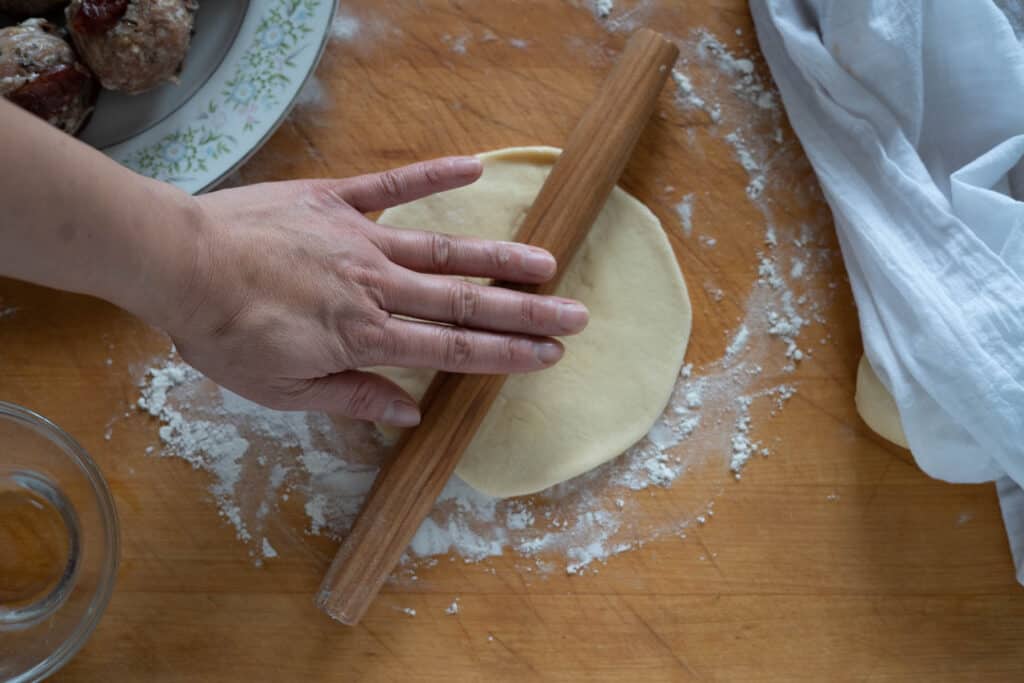
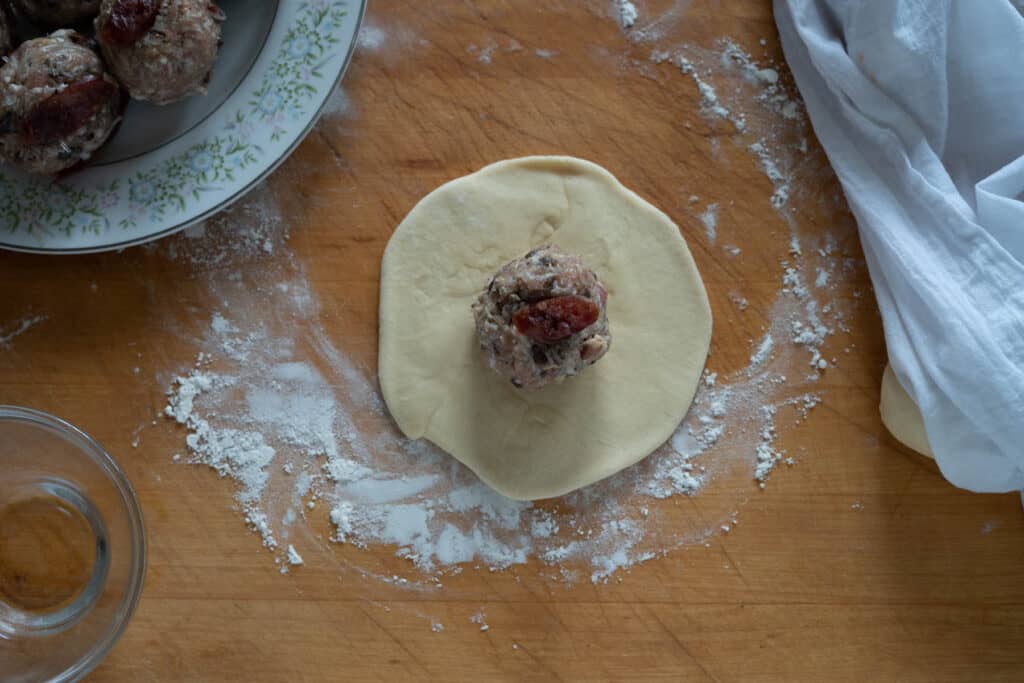
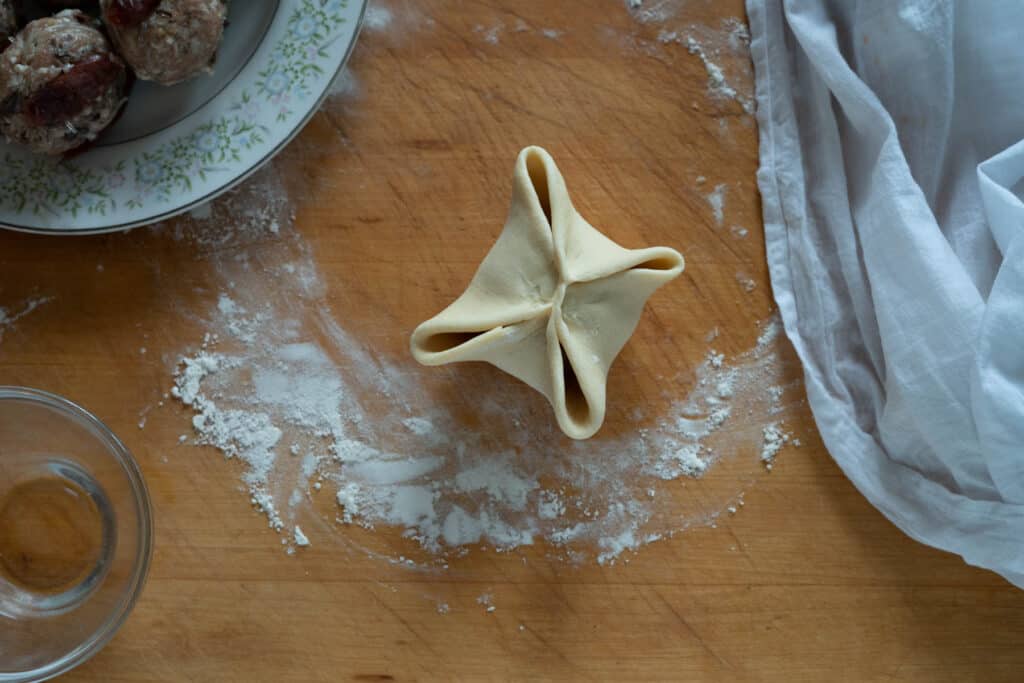
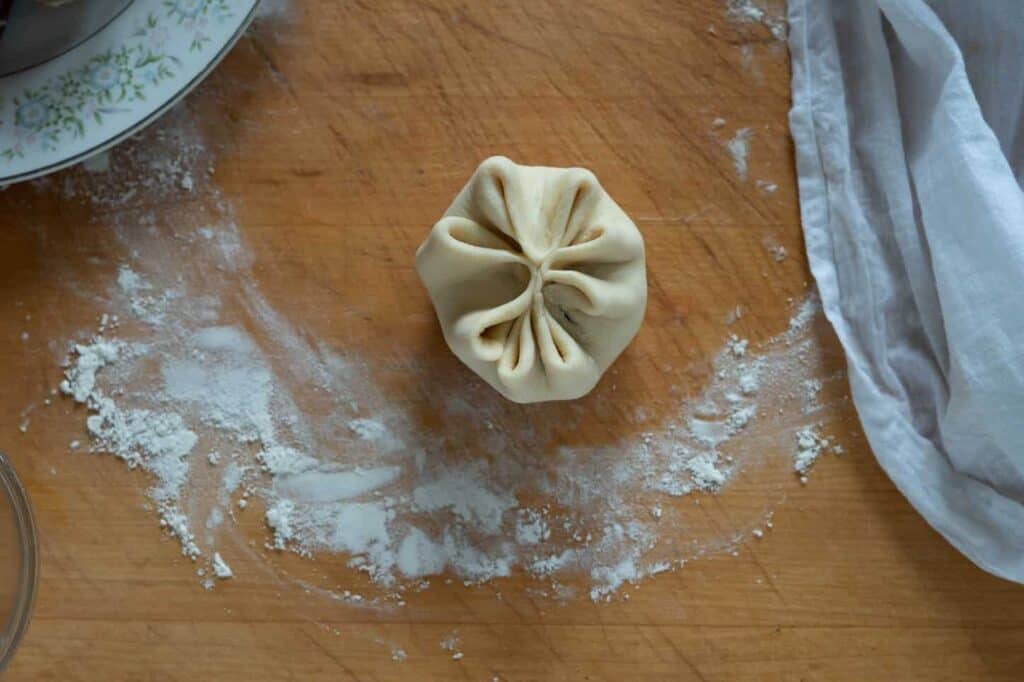
This is the easiest way for me shape the buns.
- Take one of the portions and roll into a circle about 6-7 inches wide. Try to roll out the edges a little thinner than the center.
- Place the filling in the center of the dough.
- Fold up the edges to make 4 corners.
- Push the corners into the center to make more pleats.
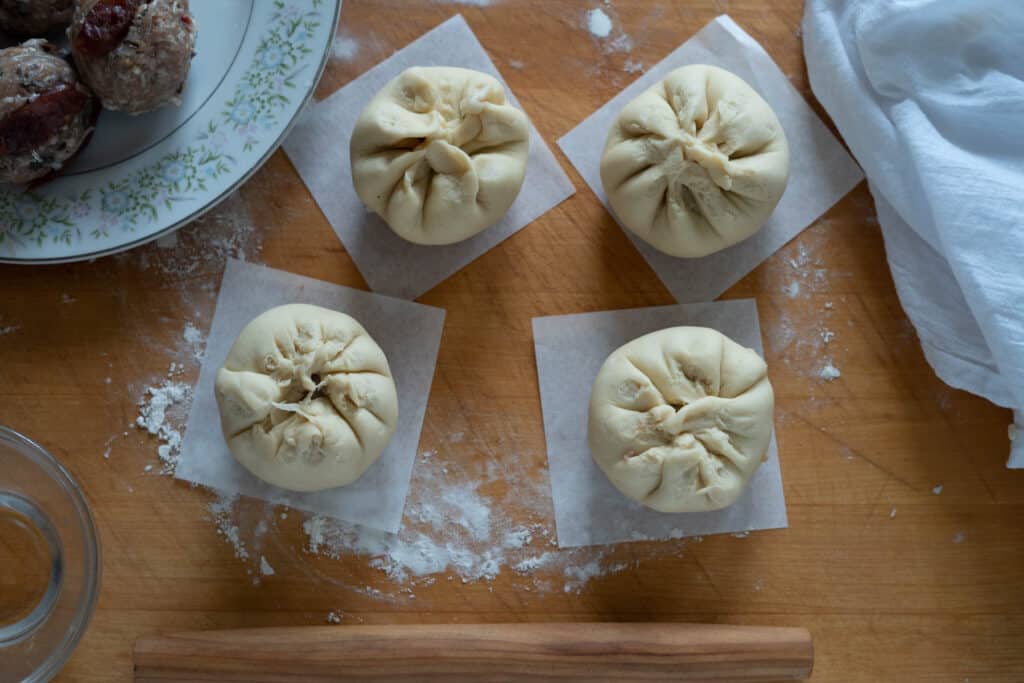
- Take the top of the bun and twist the top to seal in the edges.
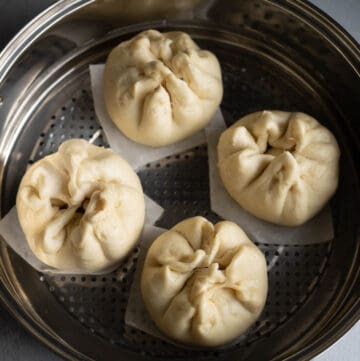
- Place on a pre-cut sheet of parchment paper or large muffin liners.
Step 5: Steam the buns.
I have a multi-tier steamer like this one.
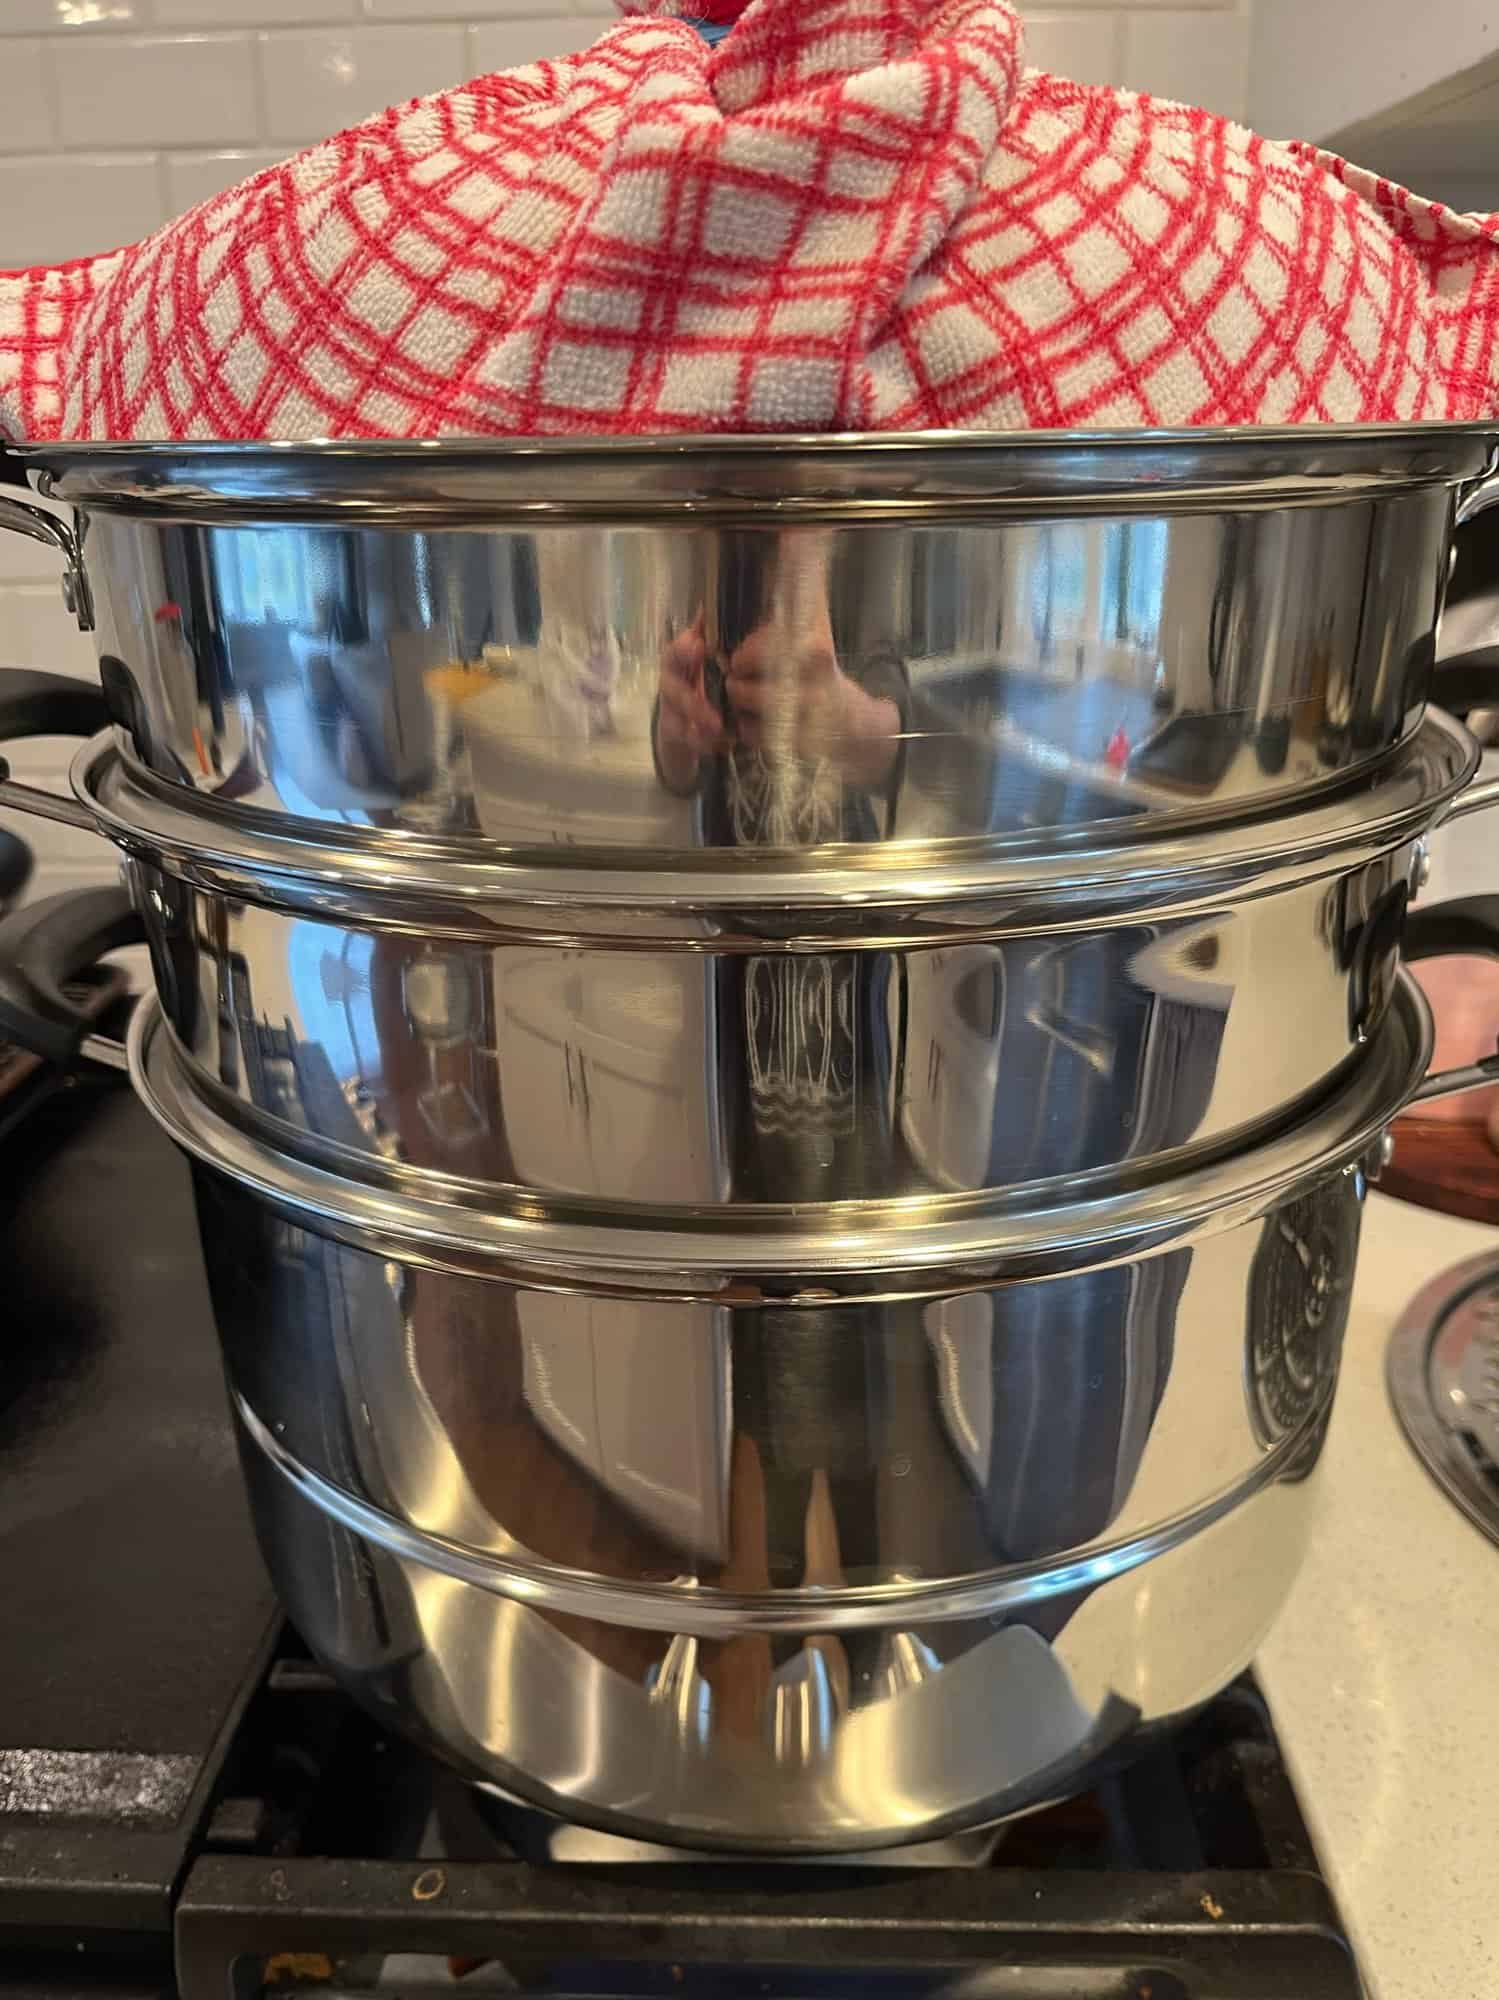
You can use any steamer you have. I like to wrap the lid with a towel and tie it together with a rubber band. This will prevent moisture from dropping on the buns.
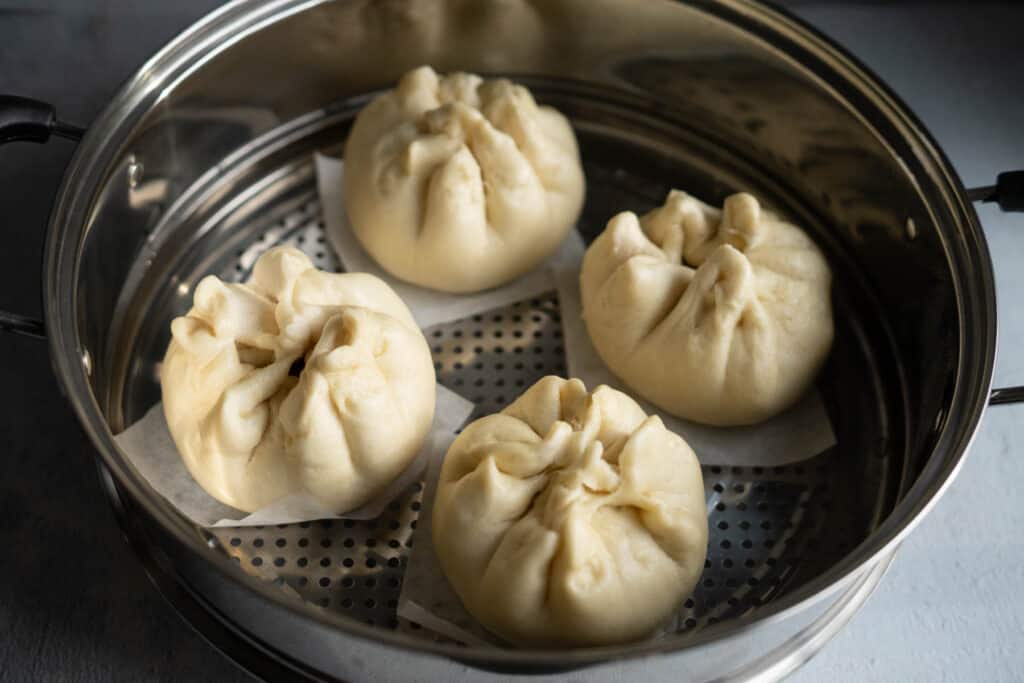
Steam the buns for 20 minutes. Let rest for a few minutes to cool and enjoy.
Buns will last one week in fridge and 1 month in freezer. Reheat in microwave for 1-2 minutes before eating.
Note: The color on the buns will not be as white as the buns you see in stores because we are using unbleached all purpose flour which is commonly available. You can use bleached flour or special Bao bun flour that can be hard to find. The “whiteness” does not affect the taste at all.
Vietnamese Steamed Pork Buns
Equipment
- 1 Steamer
Ingredients
Yeast Mixture
- 1 Cup Luke warm milk
- 2 tsp Dry instant yeast ( or one package)
- 1 tbsp Sugar
Flour mixture
- 500 grams All purpose flour
- 2 tsp Baking Powder
- 100 grams Sugar
- 1 tsp Salt
- 1 tbsp Vegetable Oil
Filling
- 1 lb Ground Pork Can sub chicken or turkey
- 1/3 cup Yellow onion minced
- 1/4 cup Rehydrated Mushroom ( combination wood ear or shitake)
- 1/4 cup Bean Vermicelli Noodles
- 1 tbsp Oyster Sauce
- 1 tsp Sesame oil
- 1 Egg White
- 4 Chinese Sausages Sliced
- 4 Eggs boiled, peeled, and halved
- 1 tsp Salt
- 1/2 tsp Black pepper
Instructions
- In a small bowl, mix together milk, yeast, and 1 tbsp sugar. Make sure the milk is warm (105-110 ℉). If the water is too hot it will kill the yeast. Set aside
- In the bowl of a stand mixer, add flour, sugar, baking powder, and salt. Mix and set aside.
- Once the yeast mixture gets foamy it is ready to use. This will take about 5 minutes. If the mixture is not get foamy, you will need to discard it and start over with new yeast. Add the yeast mixture and vegetable oil to the flour mixture and begin to stir.
- Knead the dough until it is smooth. This can be done by hand but I have only done it with a mixer. In a stand mixer with the dough hook. I start on low for about 2 minutes until everything is incorporated. Then start turning the speed up one a time until about medium and let it go for another 8 minutes. The dough should be smoother and not stick to the sides. If the dough is too dry and crumbly then add 1 tbsp of water or milk at a time If the dough is too wet and sticky then add 1 tbsp of flour at a time until it no longer looks sticky. Once the dough is all combined and does not stick to the sides of the bowl then take it out and shape into a ball. Place the dough in a bowl that has been oiled. Roll it around in the bowl so that it is coated in the oil. Wrap with saran wrap or a damp kitchen towel and set aside to double in size. I usually place it in my oven and turn on the "proof" setting. If you don't have this, just set aside in the warmest part of your house until it has doubled in size. This will take about 1 to 1 1/2 hours.
- While the dough is proofing, mix all of the meat mixture and set aside. Boil the eggs and cut into quarters or halves depending on how many buns your want.Slice the Chinese sausage and set aside. Optional:I like to prepare my fillings into balls so that it is easier when it is time to roll. I do this by taking about 1/4 cup of filling, one piece of egg, and 2 slices of sausage and press together into a shape of a ball. I repeat with all the meat and set aside on a plate.
- On a lightly floured surface, take the dough out and divide the dough into 8 pieces for large buns and 12 for smaller buns. I usually will roll my dough into a log and cut it into even pieces. Then take each piece and roll into a ball. Set aside under a damp towel. Let rest for 10 minutes
- To shape the bun, place one piece of the dough onto a light flour surface and roll into a circle. Try to roll the outside a little thinner than the inside. Tip: I find that 6 inches is a good size for medium sized buns and 8 inches is good for large buns. Place the filling inside the bun and gather up the edges and pinch together. There are many ways to do this but the main thing is that the dough is sealed. I like to fold mine up into 4 corners then twist the top gently to make an easy swirl design. I have also just squished it all together and that worked fine too. Place on a square parchment paper and set aside under damp towel until all buns have been done. This part takes practice so don't worry if it doesn't look great. It will still tastes good.
- Set up your steamer. It helps to wrap a kitchen towel over the lid so that it catches any moisture that will drop onto the bun. Steam for 20 minutes.
- The buns can be stored in the fridge fro a week or in the freezer for a month. Microwave for 2 minutes before eating.
